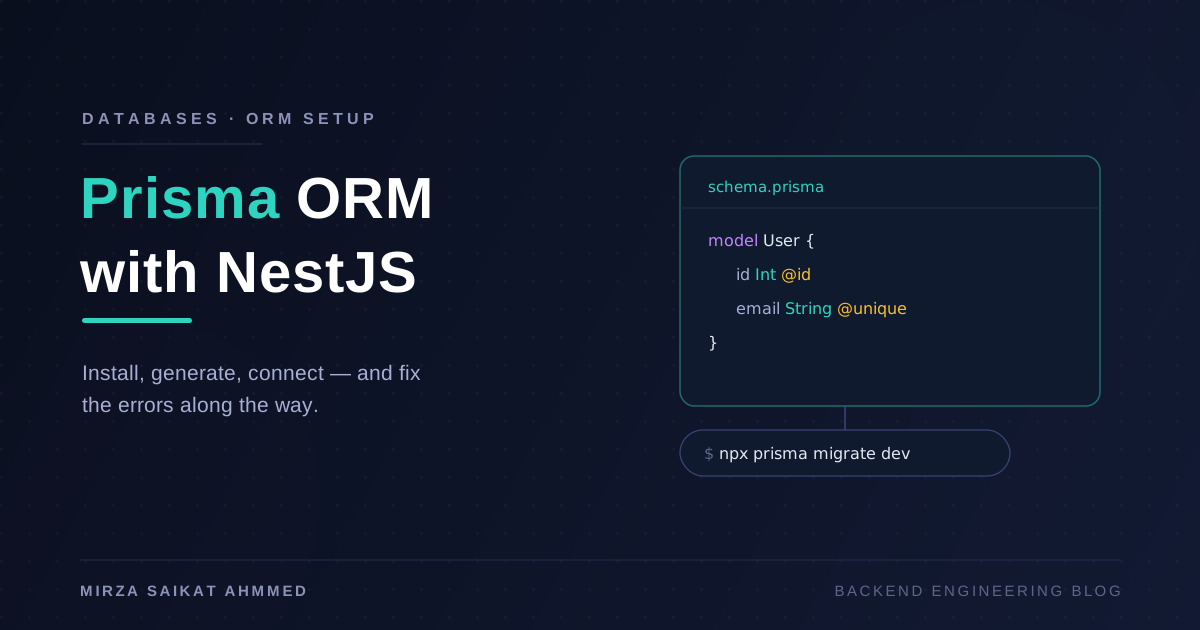
In the rapidly evolving landscape of web development, effective database management is pivotal to any application's success. As developers, we strive to choose tools that simplify our workflows while enhancing performance. Prisma ORM combined with NestJS offers a robust solution for modern application needs. In this blog post, we'll explore the seamless integration of Prisma ORM into a NestJS application, guiding you through installation, setup, and connection troubleshooting specifically for version 7.0.1.
Table of Contents
- What is Prisma ORM?
- Prerequisites
- Installing Prisma and NestJS
- Setting Up Prisma
- Creating a Database Connection
- Connection Troubleshooting
- Testing the Connection
- Conclusion
What is Prisma ORM?
Prisma is an open-source database toolkit that streamlines interaction with your databases, making it easier to manage schemas, perform migrations, and execute queries. It abstracts much of the boilerplate code associated with traditional ORMs, allowing developers to focus on building their applications more efficiently.
Prerequisites
Before diving into the installation process, ensure you have the following:
- Node.js (version 14 or above)
- NestJS CLI installed:
npm install -g @nestjs/cli - A database of your choice (PostgreSQL, MySQL, SQLite, etc.)
- A basic understanding of TypeScript and NestJS
Installing Prisma and NestJS
-
Create a New NestJS Project:
nest new my-nest-project -
Navigate to the Project Directory:
cd my-nest-project -
Install Prisma and Required Packages:
npm install @prisma/client prisma -
Initialize Prisma:
npx prisma initThis command creates a new
prismadirectory with aschema.prismafile, where you will define your data models.
Setting Up Prisma
With Prisma initialized, it's time to define your data models:
-
Open the
prisma/schema.prismafile and specify your database connection. Here’s an example configuration for a PostgreSQL database:datasource db { provider = "postgresql" url = env("DATABASE_URL") } generator client { provider = "prisma-client-js" } model User { id Int @id @default(autoincrement()) name String email String @unique } -
Set your
DATABASE_URLin the.envfile:DATABASE_URL="postgresql://USER:PASSWORD@localhost:5432/mydb" -
Run Migrations: After defining your model, create the database tables with:
npx prisma migrate dev --name init
Creating a Database Connection
-
Create a Prisma Service: Generate a service to interact with your Prisma client.
nest generate service prisma -
Implement the Prisma Client inside the Service: Update
prisma.service.tsto create a connection to your database.import { Injectable } from '@nestjs/common'; import { PrismaClient } from '@prisma/client'; @Injectable() export class PrismaService extends PrismaClient { constructor() { super(); } } -
Utilize the Prisma Service in Your Modules: Import the Prisma service into any module needing database access.
Connection Troubleshooting
If you encounter issues while connecting to the database, consider checking the following:
- Database URL: Confirm that the
DATABASE_URLis correctly formatted and the credentials are valid. - Database Availability: Ensure your database server is running. You can test connections using a database client like pgAdmin for PostgreSQL.
- Database Permissions: Make sure the user specified in the
DATABASE_URLhas necessary permissions on the database.
Testing the Connection
You can test the connection by creating a simple controller to interact with the Prisma service:
-
Generate a User Controller:
nest generate controller user -
Update the User Controller:
import { Controller, Get } from '@nestjs/common'; import { PrismaService } from './prisma.service'; @Controller('user') export class UserController { constructor(private readonly prisma: PrismaService) {} @Get() async getUsers() { return this.prisma.user.findMany(); } } -
Start Your NestJS Application:
npm run start
Visit http://localhost:3000/user in your browser to verify if data retrieval is successful.
Conclusion
Utilizing Prisma ORM in a NestJS application can significantly simplify your data management and streamline the development process. By following the steps outlined in this guide, you are well on your way to effectively integrating these powerful tools. Equipped with knowledge of connection troubleshooting and testing, you can confidently build scalable applications featuring robust database interactions.
Stay tuned for future posts where we will delve into advanced features of Prisma ORM, such as advanced querying capabilities, relational data modeling, and more.
For more insights and updates on web development, don’t forget to subscribe to our blog!
Working on something like this?
I take on backend, payments and deployment projects. I reply within one working day.